
Scandinavian Bathroom Design: Ideas for a Spa-Like Nordic Bathroom
A Scandinavian bathroom focuses on simple fittings, practical storage, a minimal color scheme, and warm textures, all in a space that’s easy to use. Begin with the layout and surfaces that suit your bathroom, then add lighting, towels, and your own personal touch.
Everyday choices matter, like where you hang your wet towel, keeping the basin edge clean, and making sure drawers open without hitting the door. Our Scandinavian interior design guide covers light, materials, and function. Here, these ideas need to fit with water use and your daily routine.
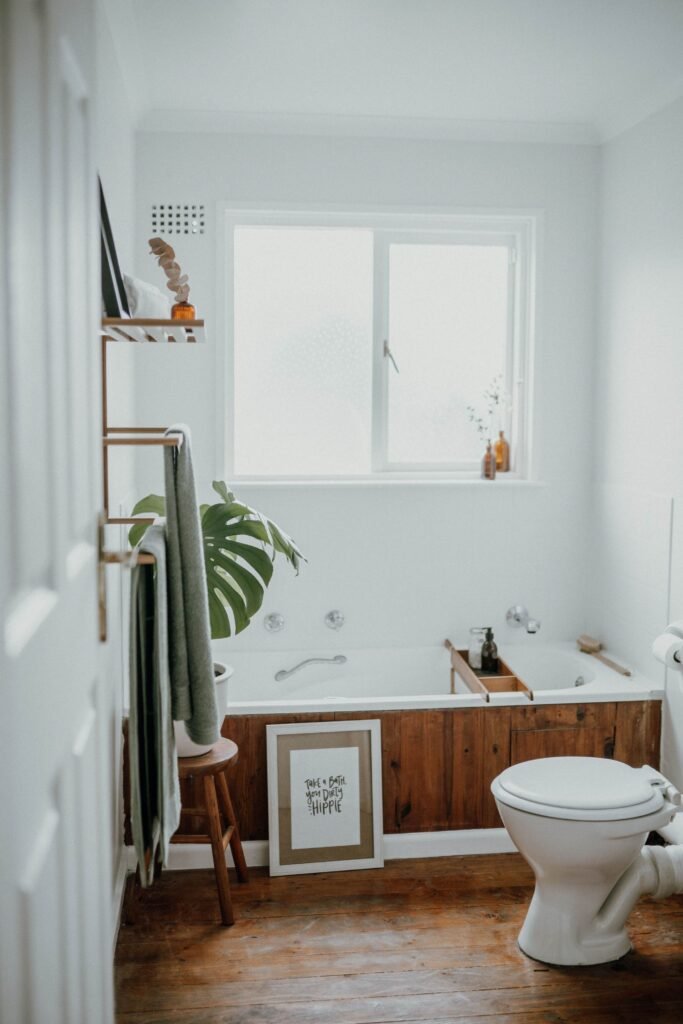
What makes a bathroom feel Scandinavian?
Simple cabinet fronts, a few main materials, and space around the fittings create a clear foundation. Timber tones bring warmth next to tile and ceramic. Add color with a painted wall, the vanity, or a towel instead of using many different patterns.
You can add character to the room. A blue vanity, an old mirror, or a special ceramic piece can fit well with simple finishes. Choose where you want the detail and make sure it has space to stand out.
You can definitely create a spa-like feel. Keep a towel within reach, use the right lighting for evenings, and make sure the shower area is easy to clean. You don’t need a freestanding bath or a huge floor space to get this effect.
Plan the layout around your daily routine
Measure the room, door swing, window, and current fittings before shopping for replacements. Remember to check things like radiators, towel rails, and how deep a mirror cabinet is. Open drawers and shower doors in your plan instead of guessing with everything closed.
Picture your usual morning. Can you stand at the basin while someone else uses the storage? Where will you put the towel after your shower? Does the basin have enough space for your things, or would another shape work better?
Use our bathroom layout dimensions guide to figure out the measurements and compare different layouts. Make sure your final plan matches the fittings you choose, the installation needs, and your family’s access requirements.
A wall-hung vanity shows more of the floor and makes it easier to clean underneath. It needs proper wall support and fixing. Like any furniture, choose it for both storage and appearance. Plumbing, drawer depth, and dividers all affect what you can store inside.
Build a palette from the largest surfaces
Begin with the floor or wall tile you plan to keep. Place a cabinet sample and a towel next to it before choosing paint. Pay attention to undertones. A cream tile and a cool white basin can look very different together.
Three color combinations to explore are:
- Warm off-white and oak tones: a quiet tile, wood-toned vanity and oatmeal or white towels. Let the wood pattern provide most of the visual texture.
- Light grey and muted blue: simple pale surfaces, a blue vanity or painted wall and a small amount of darker metal detail. Compare the grey and blue in the room’s actual light.
- Soft green and stone tones: subdued green on a wall outside the direct shower area, a plain stone-effect tile and a lighter vanity. Keep the other finishes simple enough for the green to stand out.
These are just palette ideas, not specific product recommendations. Always check samples in daylight and under your bathroom lighting. Compare the basin and metal finishes too, not just the tile and paint.
Tile and wood finish guide: choose for the location
Think about how the material looks versus what it’s made for. A timber finish might be real wood, veneer, a decorative cabinet finish, or even porcelain tile. All of these work in a Nordic bathroom, but each has its own installation and care needs.
| Area | Finish direction to explore | What to establish before buying | Care to plan for |
| Main bathroom floor | Floor-rated ceramic or porcelain with a restrained pattern | Suitability and slip-resistance information for the expected wet conditions, plus compatibility with the floor construction | A cleaning method suited to the tile, grout and any surface treatment. |
| Shower walls | Tile approved for the location, with a specified waterproofing system behind it | The complete assembly, including background, waterproofing, corners, penetrations and connections | Access for cleaning and inspection of joints and seals. |
| Shower floor | A tile or tray intended for the shower floor | Wet barefoot-use suitability, drainage arrangement and the installer’s proposed construction | Removal of soap residue and a cleaning routine that preserves the surface. |
| Vanity | Bathroom furniture with a timber veneer or wood-effect finish you like | Core, face and edge materials; basin compatibility; mounting and care instructions | Promptly wiping away splashes and keeping the surface dry as instructed. |
| Shelf or timber detail outside direct spray | A wood product and finish approved by its supplier for the location | Expected moisture exposure, fixing and any refinishing requirements | Drying splashes and maintaining the specified finish. |
| Wood-look finish near water | Ceramic or porcelain with a timber appearance | Whether the exact product is suitable for a wall, floor or shower, and the required installation system | Care for tile and grout; it is a different material from timber. |
| Painted wall outside direct spray | A coating system suitable for the bathroom location | Substrate preparation, cleaning requirements and where another protective surface is needed | Following the coating manufacturer’s cleaning instructions. |
Tile and grout do not waterproof the shower by themselves
Schlüter-Systems make it quite clear that the tiles, the adhesive and the grout by themselves do not make an installation waterproof. The finish is part of the overall assembly. You need to ask the installer to explain the waterproofing that’s specified and how it’s going to perform at the drain, at the corners and at the fittings before you make your decision on the basis of appearance alone.
Tile size affects the final layout. Ask to see where cuts, joints, and floor slopes will be. Large tiles might work well in one spot, but you may need a different setup around a shower drain. You don’t have to use the same tile everywhere to get a matching look.
A matt appearance does not establish wet-floor suitability
Check the supplier’s technical data when choosing floor tiles for your bathroom. HSE’s slip resistance guidance (mainly for workplaces) suggests getting technical data and testing how the floor performs when wet. The key is to know how the surface works in your own bathroom conditions.
Ask about areas where you’ll be barefoot and wet, like the shower floor. Just saying a surface is matt, textured, or natural-looking doesn’t tell you enough. Also, consider how easy it is to clean. If you can’t keep it clean, it’s probably not right for daily use.
Bring in wood tones with a clear care plan
A wood-toned vanity can be a great focal point in a tiled room without needing much wall space. Focus on how it’s built, not just the finish name.
The oak effect IKEA ÄNGSJÖN vanity is constructed from board, plastic foil and edging and achieves the timber look through that. IKEA’s instructions are to clean gently with a non-abrasive substance and simply wipe dry. A genuine wood veneer or solid timber detail would have its own finish and its own care requirements.
Place any movable wooden accessories where they can dry, and use products suited for that spot. If you want wood grain in your shower’s tiled surfaces, consider wood-look tiles. Check several pieces to see how the pattern repeats before buying.
Make storage fit the things you reach for
Make a list of a list of the bottle,s, brushes, and small you’ll keep in the bath. Measure talltems before choosingchoosing drawer organizers or shelves. Keep daily items easy to reach, and store less-used supplies elsewhere if space is tight’s very little surface area around the basin. Our guide to mirrors with storage looks at various formats. You’ll need to check the cabinet’s projection, the direction of opening and the internal depth against how you’ll be using the basin directly below.
Make sure there’s space for wet towels to dry. A hook near the shower can help, or a rail might work better. Place it so you don’t have to reach over a door or another fitting to grab your towel.
Use an open shelf for folded towels or a favorite item. For small things you’d have to move when cleaning, closed storage is best.
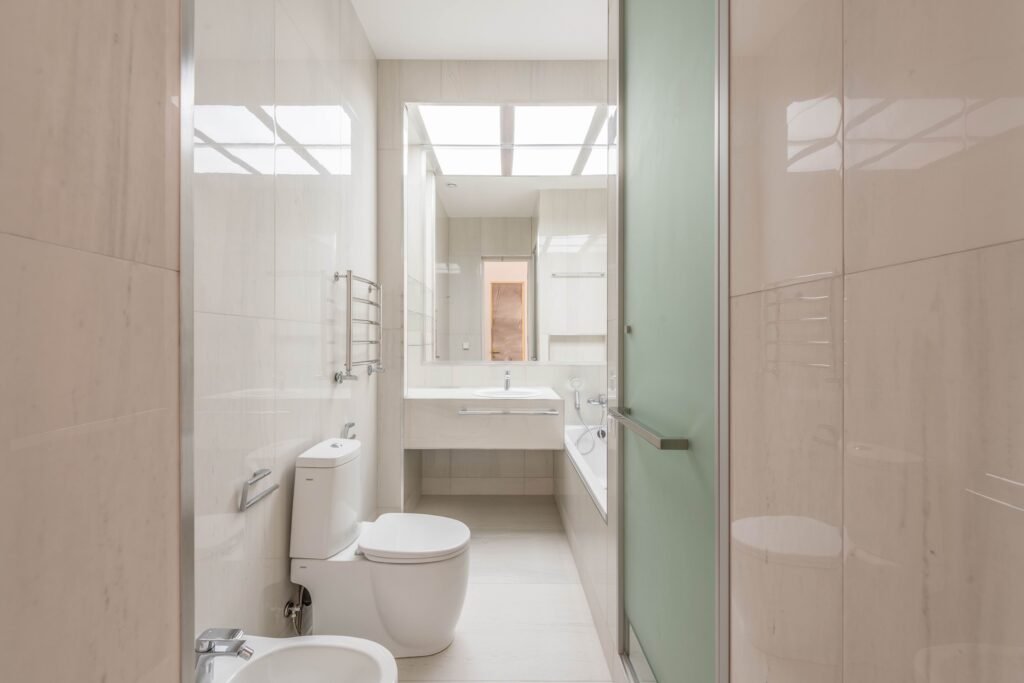
Use lighting that suits the mirror and the evening
See how the light falls on your face at the basin. A ceiling light alone might cause shadows where you want a clear view. Consider mirror-side or built-in lighting along with the main room light.
If you want a softer evening mood, talk to your installer about separate controls or dimming options. Choose and place bathroom fittings to match the space and electrical needs. A decorative lamp from another room might not be safe or suitable for the basin or bath.
Keep the window practical. Choose a privacy option that’s easy to clean and use, and don’t block daylight with stored items. Check tile and cabinet samples under your planned lighting before deciding on colors.
Give the room a way to dry
Plan for ventilation as well as finishes. The US EPA’s moisture guidance suggests running the bathroom fan or opening a window during showers. Ask your installer how ventilation will work with your room’s layout and use.
Make sure vents are easy to reach, and let towels and bath mats dry between uses. Follow furniture care instructions after splashes, and fix leaks instead of hiding damp spots with accessories.
Add the details that make the room comfortable
Pick towels you enjoy using and that are easy to wash and dry. The bath mat should suit your floor, stay in place, and not block doors. Check washing instructions before deciding how many you’ll need.
Keep only what you use daily on the basin edge. A dish for a ring or a small tray for essentials is enough. Our hygge decor ideas show how good lighting and familiar items can make a room feel truly inviting.
If your bathroom works well, focus on storage, towels, and lighting before changing fittings. Clear the basin, put a towel within easy reach, and notice where your routine could be smoother. Use that to decide what to change next.
Sources
- Schlüter-Systems: Waterproof versus water-resistant bathroom construction
- HSE: Slip-resistance questions and flooring technical information
- IKEA: ÄNGSJÖN oak-effect vanity specifications and care
- US EPA: Moisture prevention and bathroom ventilation

Parker is a home and lifestyle writer at The Scandi Home, where they share a love for Scandinavian design, cozy living, and thoughtful interiors. Their writing focuses on simple, functional spaces that feel calm, warm, and lived-in.